Sunday, March 31, 2013

EASTER! and other things we did in March

Our family on Easter Sunday!
 
(not pictured: Margo)
Jon's tie is a Jerry Garcia, borrowed from his dad's collection. My dress and cardigan were thrift store finds. Kate's dress was handmade by me, and her hair flower is from Little Lesiw! (The lady who makes the blooms gets her fabric from Bev's. It was a perfect match.) Kate's dress ended up a little big on her, which is perfect because she will be able to wear it for a few more months :)
 
Visiting Gram and Grandpa!
 
 
The Easter Bunny brought something adorable for Kate :)

 
She was also spoiled with puffs, a pink bunny from Grandpa, a board book from Gram, teething cookies from Nana and Papa, and some stacking blocks.
 
Katherine's first tooth made it's debut on Thursday! You can barely see it coming in. It's the bottom right tooth. Jon and I were VERY excited! I had no idea I would get so excited about her teeth. She especially now likes to munch on everything she can.
 
Jon and I also worked on decorating an Easter basket for Kate. It's about halfway done. We're hoping to add more to it this week before storing it away. Right now it's full of mine and Jon's candy, but it will definitely be ready for the Easter Bunny to fill with goodies next year!
 
 
Jon made the grass and flowers:

 
I made this little bunny guy with the Easter egg:

 
***
 
In a brief re-cap of the month, here is what else we've been up to:
 
I made a mini apron for my niece's 6th birthday

 
Kate gets more adorable every day.


She can sit by herself and loves to look at everything while we are grocery shopping!

 
Jon and I have been crafting as always (see previous post about knitting). Here is a picture frame/vinyl project we put together for Jon's dad's birthday:

 
Both the original frame and the vinyl quote are from Beverly's. We did the lay out and tried to find all the pictures we could of Jon's dad with paintings he has worked on for the kids and grandkids. He's done a lot of amazing work!

 
We got to visit with this lovely lady :) So excited for her finishing law school soon!

 
We worked on our veggie eating skills

 
Speaking of crafting and birthdays... my coworker Savannah and I put together a magical basket of goodies for our friend, Shayla. It came complete with a burned-edge scroll of magical directions. Mermaid scales, Siren hair, wings of a Griffin and Phoenix tears, just to name a few.

 
I met this fantastic creature at work:

It's so fluffy I'm gonna die!!!
We made flower tiaras at the park:


And with an average of 2 photo sessions a week, we are definitely having fun and keeping busy. Can't wait to see what April brings!


Saturday, March 30, 2013

March - The Month Of...

Knitting!

 
Or, to make it sound more manly, "yarn stabbing".
 
It all started with this book: First Steps in Knitting.
 
Well, let me back up. My grandma taught me how to knit when I was younger, but I never work on it. I've picked it back up on and off again over the years, but never really made anything substantial.
 
When I was pregnant with Katherine, I REALLY wanted to knit her a blanket, but I never did it. This month was going to be my chance. And since Jon had never knit before, we decided to make this one of our months of exploration!
 
My goal for Kate's afghan was to be 3 colors - orange, brown and green. I also picked large needles because I wanted the stitches to be chunky.

 
We kicked off our knitting projects with Breanna!
 (her hubs was out of town)


Katherine thoroughly enjoyed laughing at the Baker's dog, Nelope, as we watched James and the Giant Peach.

It's so fun when Jon dresses her for church. All blue, athletic socks, and her sparkly Christmas shoes :) Love it.

Jon decided to tackle a manageable project; knitting a scarf for Kate.


He did start over once at the beginning, but his stitches were nice and even and looked great for his first project! He also learned quickly the importance of COUNTING your stitches.

We did some knitting at Summer and Riley's place too. All the while I was practicing different stitches, knitting and purling so that I could read the pattern I wanted to use.

As of today, Jon's scarf looks like this!

 
All done with some beautiful green fringe on the end :) He made it extra long so that she can continue to grow with it and wear it for a few years.
 
My project?
 
 
Looks like this...

 
I was getting a little thrown off with the giant needles, so I decided to use smaller needles to practice on until I really feel comfortable with the stitches. It's nowhere close to being a blanket yet, but I do feel good about my practicing. Good thing it's a skill I can continue to develop :)


Tuesday, March 12, 2013

You are who you pretend to be

A few weeks ago, the chubs woke up nice and early. Because of Jon's ability to hear the footsteps of a mouse, he woke up with the chubs, and couldn't fall back asleep. Instead, he browsed through Netflix, and found Unicorn City...
 
 
and so our lives were changed forever.
 
I told my friends at work about it (being that they love Unicorns) and thus, our bacon/movie/magical creature craft night was invented.
 
Lindsay went above and beyond, finding pictures of the most majestic unicorns she could to cover the soda bottles. She even made unicorn horns for them and added a mustache to one! After all... what is a majestic unicorn without a handlebar mustache?
 
 
All of our cups had unicorn name labels. Mine has 2 unicorns to represent myself and baby Kate :)
 
 
We colored, decorated picture frames,
 
 
and made shrinky dinks! (Which sort of failed)

Notice how the shrinky dink with the rainbow has a unicorn with fangs and a maiden crying tears of blood. Epic.
 
Per Savannah's request, we also tried to make Unicorn poop cookies!
 
Step 1: separate the sugar cookie dough into 6 parts and color each chunk with food coloring so that it resembles the colors of the rainbow.

 
Step 2: arrange the cookie dough in rainbow order inside a plastic baggie, and then squeeze it through the cut off corner so that it looks like... well... poop.
 
 
Although they looked good going IN the oven, they totally turned into flat cookie mush! I think it was partially because of the food coloring that they never really set up. So we just ate the warm sugar cookie mush straight off of the cookie sheet with forks :)

Me, Savannah, Shayla and Lindsay
We had so much fun that "Magical Creature" night is going to become a monthly event! Next time? BIGFOOT.
 
***
 
Speaking of things we like to pretend we can do...
 
on Saturday we were in Sacramento with Johnny and Ari when Johnny told us about this 6 pound noodle challenge. It's pretty much just what it sounds like. One must eat 6 pounds of noodles in 15 minutes. Johnny really thought he could do it.
 
He started off with some stretches (see the action shot on the left)
 
But the noodles were intimidating...


Johnny held the chubs so that we could really see how large this noodle bowl was comparitively... it really just looked comical.

 
He was allowed to let the food cool down a little. And with the first bite, the time started!
 
Ari, being the good fiance that she is, kept the time and when Johnny felt like he was getting overwhelmed, she was there to shove his face back down into the noodle bowl.
 
Johnny strategically maneuvered the noodles into smaller bowls as he went for optimal air flow and cooling. Meanwhile, the Katherine took her afternoon nap on the bench in between me and Jon. What an awesome baby :) She can sleep anywhere!

 
Ari was really getting a kick out of Johnny's noodling. I seriously have never seen him so focused.

 
AND TIME IS UP!
 
Ari tried her best to console Johnny, but let's face it... that bowl is still AT LEAST half full.

 
It was a good effort.
 
We finished off the night at Rick's Dessert Diner

 
We took our desserts to go and headed home to watch... (you guessed it)
 
UNICORN CITY!
 
 
Double dates will never be the same.

Monday, March 4, 2013

Sunday at Home

After visiting our Fair Oaks ward for baby blessings yesterday, we got to spend the afternoon at home. Kate had plenty of smiles for dad :)
 
 
Katherine is officially 7 months old:
 

Jon, looking manly ;)


And the Margo pup.

 
 I'm glad to have these moments together and that we'll have fun memories to look back on as Katherine gets older. We're ready for Spring!


Thursday, February 28, 2013

February is Paper Month

Jon once again. I offered to do this blog since twas I who requested the making of paper (and since I know a little more about the process than the Wife). Sorry this is long, but I'm combining what was supposed to be two posts into one. So, here we go.
 
First, a (very) simple explaination of how paper is made:
  1. Get a mold and deckle (I'll explain later)
  2. Get some plant matter (you can use ALMOST any plant material); boil for hours
  3. Beat boiled plant matter to pieces (usually done with mallets and sticks . . . yah, not us)
  4. Take beaten matter, mix with water, and sift (kind of like gold pannig)
  5. Press between felt, and let dry
Sounds easy right? Of course it does! But, alas, beautiful things never are. So this is what happened.
 
At the beginning of February, rather than buy a mold and deckle, we decided to make one. I don't know why they have these weird names, but a mold and deckle are simply a paper form. Whatever shape you want to make it in, that's what it can be. The mold is the main section with a screen over the top to catch the plant matter fibers and form the paper. The deckle is what keeps the fibers from going over the edge of the mold (it's an outer frame to catch the fiber).
 
Here's what you need to make a mold:
  • 1' x 2' wood (length depends on how big you want the mold to be)
  • L brackets
  • mesh (copper wire mesh works best since copper doesn't rust, but we used fiberglass screen mesh since it was easiest to find, and WAY cheaper)
  • corner molding (for the deckle)
 
And you'll need a miter saw. And some glue. And some clamps to hold stuff while drying.


 Now, the following construction is/was not the easiest way to do it. And looking back, I would have done it differently. But such is life.
 
We decided to make the mold like a true frame, and miter the corners to 45 degrees.
Then some sanding.

 
After a good sanding, to make sure the edges line up nice and flush, just apply some glue and clamp together

 
We have these awesome framing clamps that make a perfect 90 degree angle. I would recommend using these if this is the way you plan to make a mold. I don't know why you would be making one, but if for some reason you do . . .
 
 
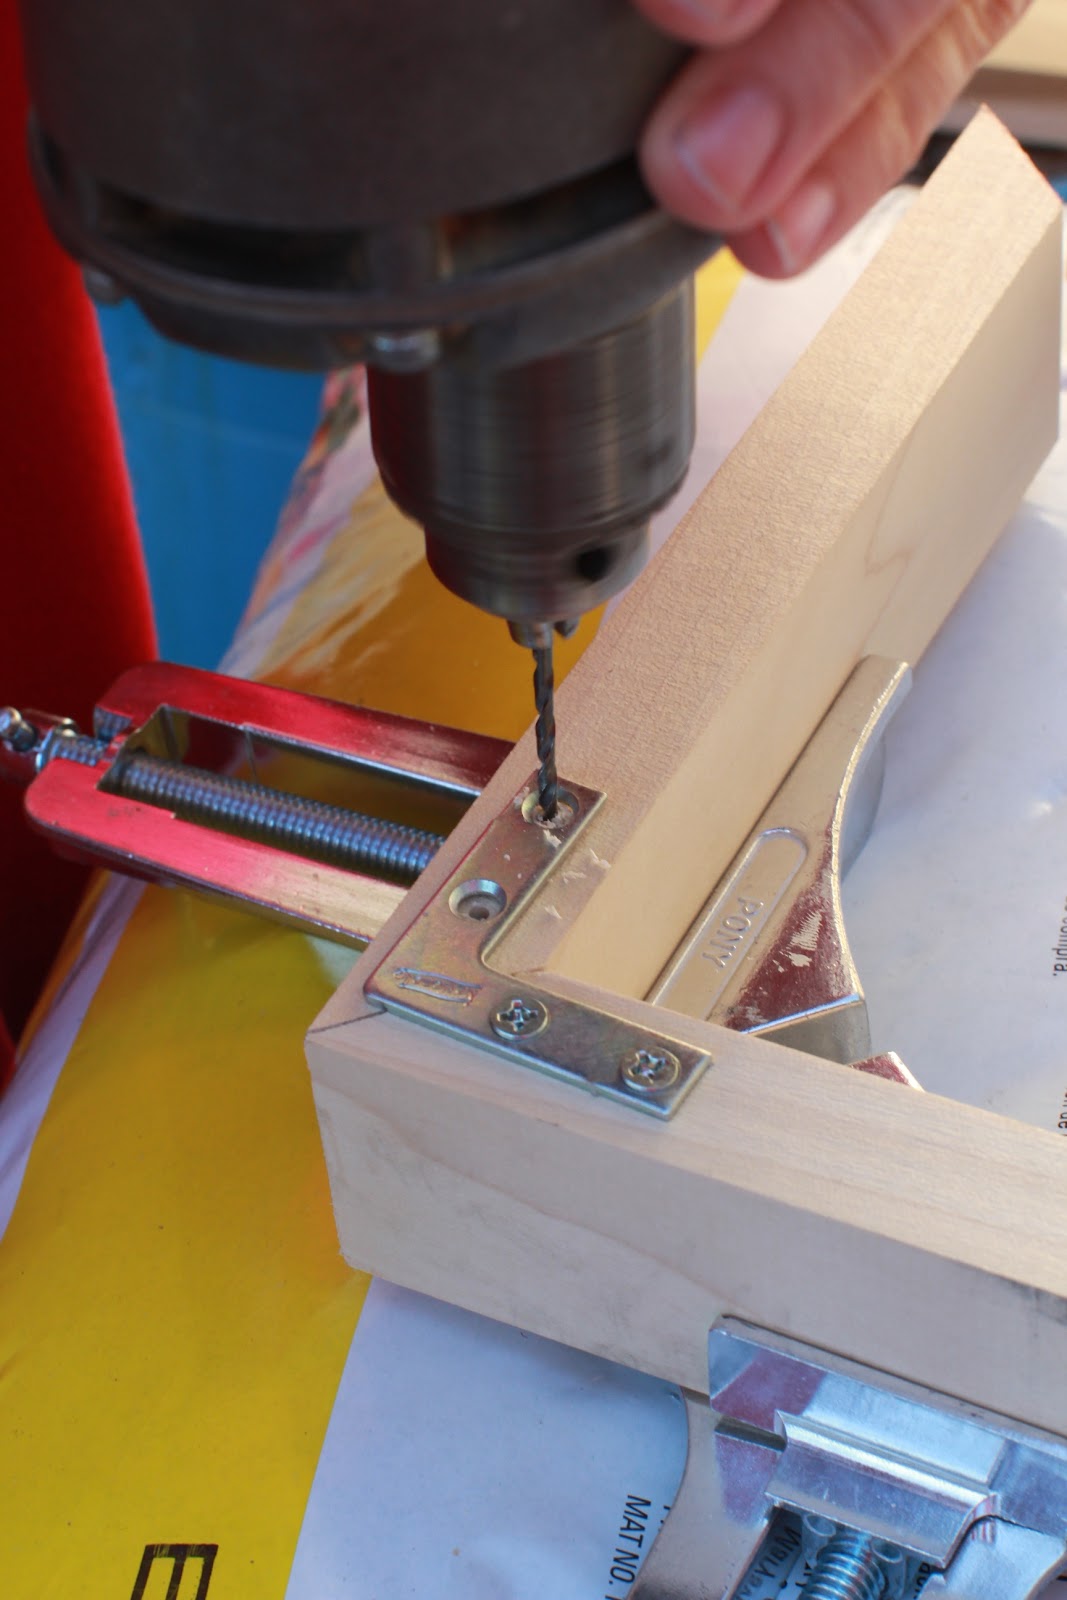
Once the two sides of the mold were clamped, we drilled some holes for the L brackets:
 
 
Her drilling skills are improving. Not so sure about her confidence . . .


And some screws:
 
 
(which apparently she enjoys more than drilling)
 
Add the two sides together:
 
 
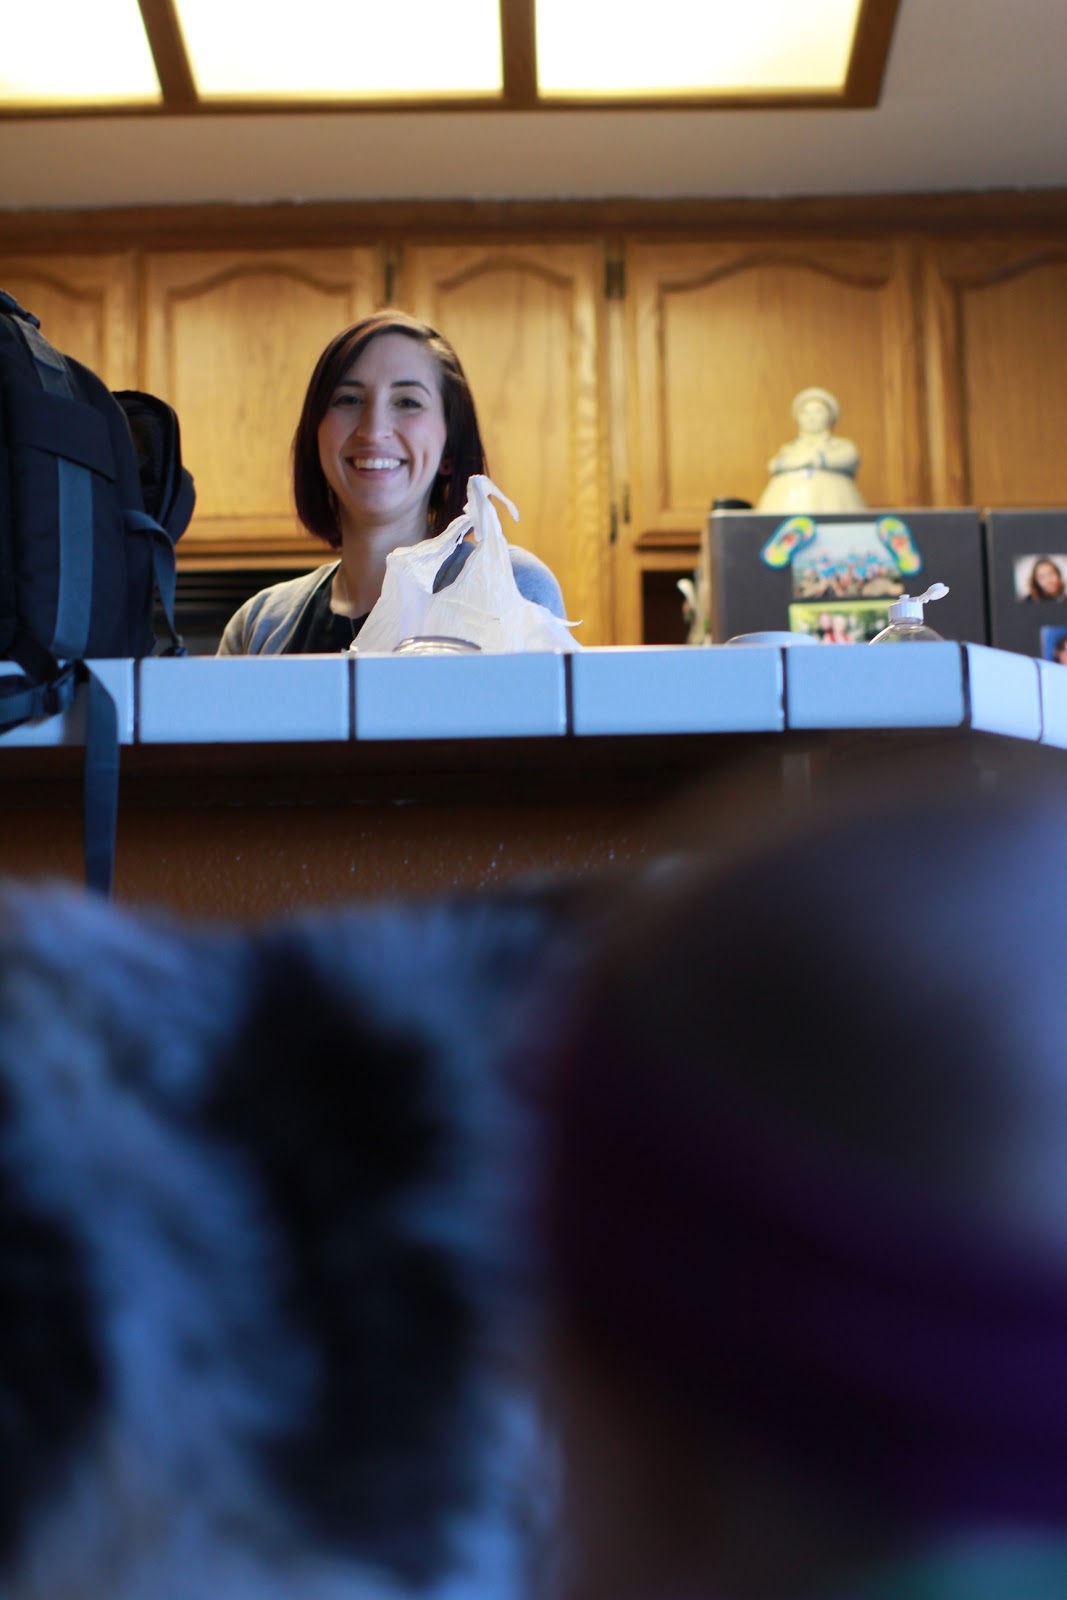
Of course, anyone who knows Steph, knows her attention span is that of a goldfish, so she started taking pictures of the dogs:


And we're back. As I said before, I didn't pick the easiest way to do this, so I added in another complex step, just because I enoy pain and sorrow and all the horrible emotions of life.
 
I wanted the deckle to fit perfectly over the mold, so that, when the deckle was on the mold, there would be only the screen showing (I'm very particular about stuff like this, I guess I get that lunacy from my mother). Because of this, we needed to do a little table sawing to thin out only the top half of the mold for the deckle to fit snug. Now when working with a table saw, it's all about attitude:
 

Clearly, we're experts.
 

And a little sanding for good measure; again, so the deckle will fit snuggly:
 
 
For some reason we didn't get pictures of the deckle being made, but here it is half way:

 
AND, the final product:
 
 
I will say, this picture makes it look WAY more awesome than it is. We used brass nails to hold the screen down, since brass, like copper, won't rust. The big reason to avoid rust is because it will leave traces of the rust and other particles in the water which will cause Foxing on your paper (small blotches of discoloration)
 
NOW, for the actual paper making.
 
First off, get someone to supervise you, it makes the whole process easier. We had Katherine:
 

Sometimes she disapproved of our work:

 
And sometimes she got so frustrated with us, she started to cry:

 
But, then again, Margo didn't really approve of our work either:
 
 
And, as always, Shasta didn't care (she only wanted to play):
 
 
While under this scrutinizing supervision, we started with some tree bark. 
 
 
 For the life of me I cannot remember the name of this tree. I collected it, with my "boss" Stephanie Sauer (owner of Copilot Press) up in Grass Valley. These trees are everywhere up there. Beautiful trees, and lovely bark. Oh well, I'm sure someone can let us know.
 
To help the boiling process, it's best to cut up your plant matter into 1/2-inch pieces. The bark was brittle, so we just crumbled it up:
 
 
Like the table saw, it's all about attitude: 


And then boil. Here's why you boil: with plant matter, like leaves or stalks, there is a lot of gooey matter in the center, matter that isn't usable for paper making; you want the skeletal fibers because they latch together when agitated and laid on top of each other.
 
We boiled this stuff for about two hours. Depending on how thick and dense your plant matter is, you may want to boil more. No more than three hours. Then a nice rinse until the water runs clear. Check if the plant matter is squishy and slimy. If not, a second boiling for 30-45 minutes can be done again. We didn't (but probably should have). Here's what boiled bark looks like:

 
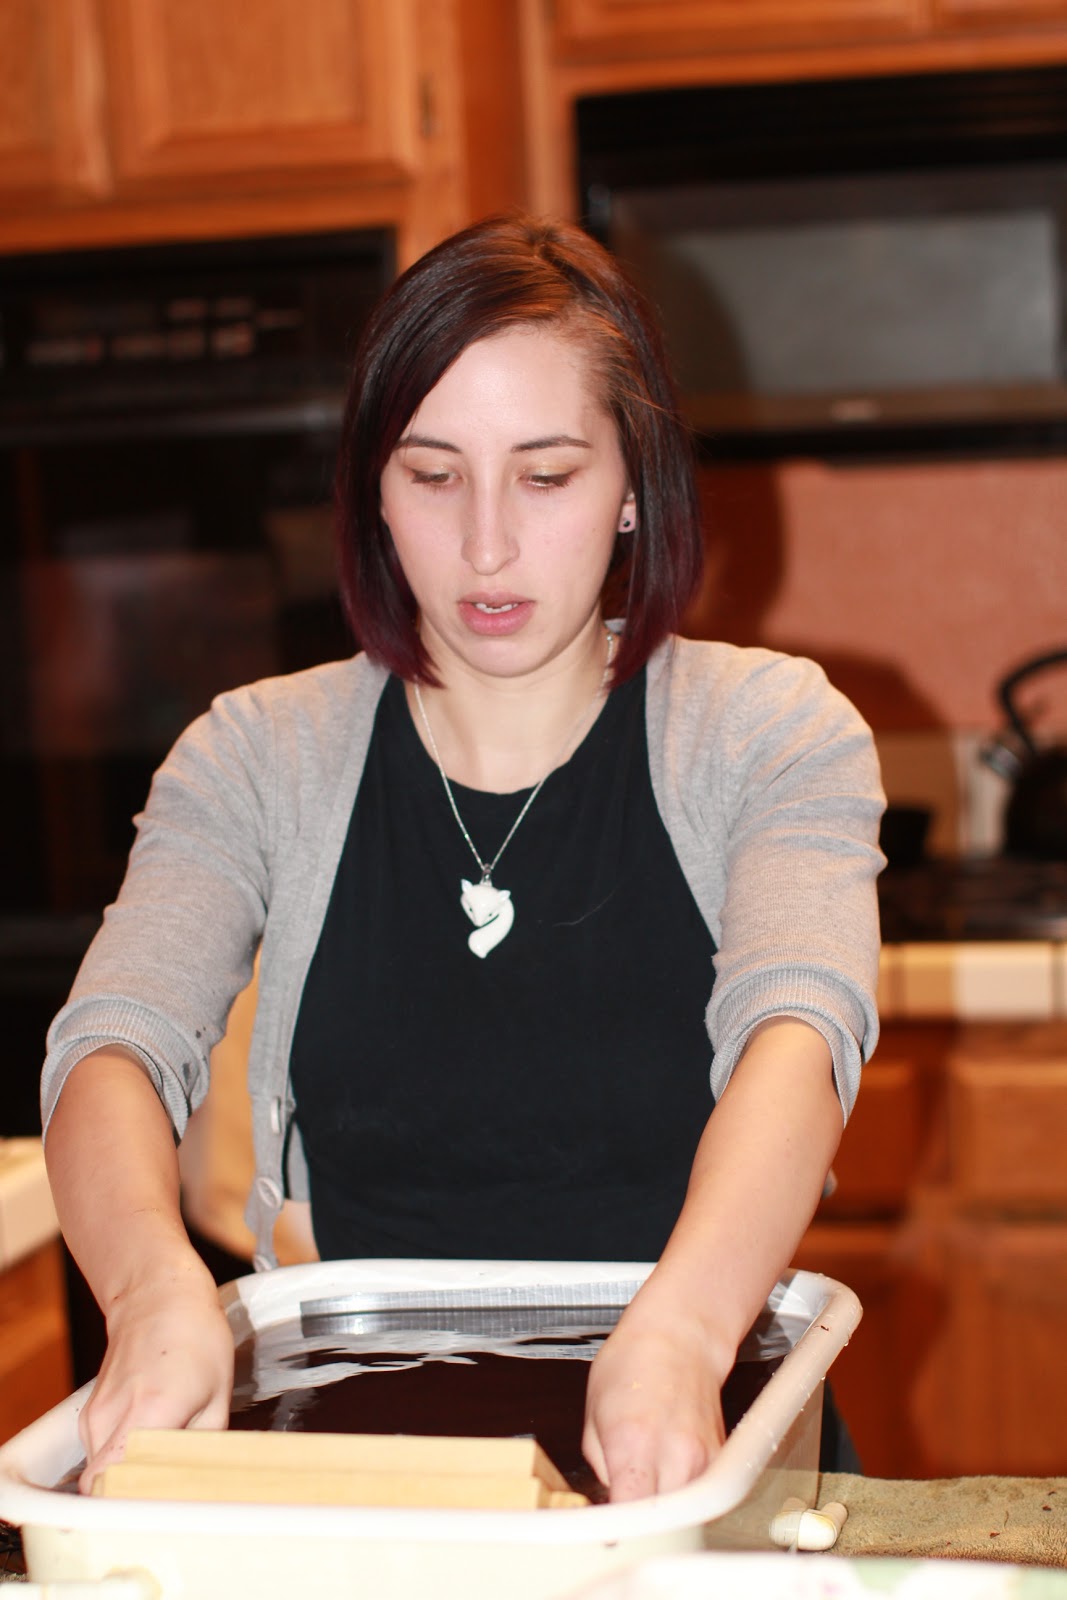
Then it was off for a good beating. The beating process is to reduce the matter to a more usable size, tiny fibers that will link together, but that you won't really see. It's good to do this with some water, so that the fibers can move around more freely (I used to much water I think). Since we are modern individuals, rather than mallets or sticks, we used a blender:
 
 
The rest is pretty easy. Add your "Pulp" (the ground up plant matter) to a tub of water (the ratio is not exact, it depends on your material, we had a hard time figuring that one out):


And agitate to get the fibers moving around in the water:

 
The rest is all in the wrist. Take the mold and deckle at a 45 degree angle, dip it into the pulp mixture, and roll your wrist towards you while pulling the mold towards you, unitl the mold is level. Then lift:


Remove the deckle, and press into the felt and lift:


As you can see, my attempt didn't go so well.
 
Now Steph's turn:


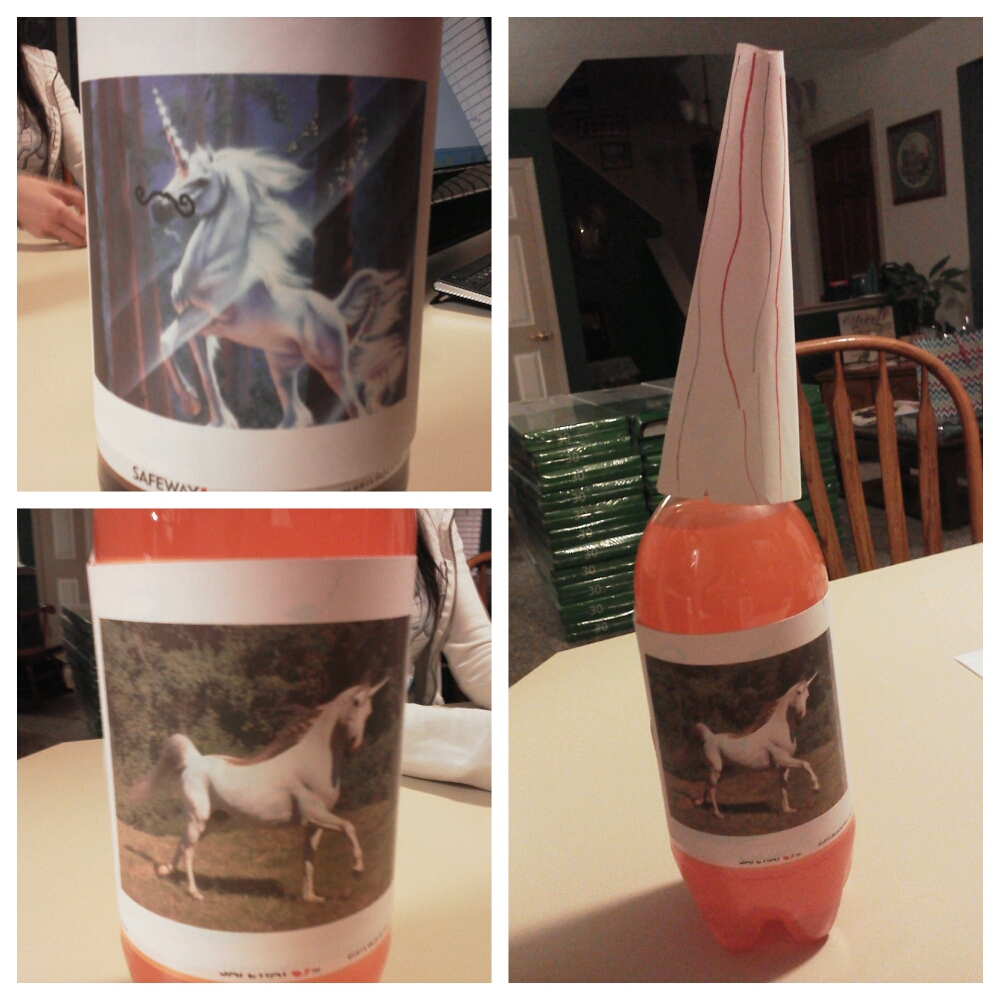
And here's what one piece of this paper looks like once it's dried:
 
 
To say the least, I don't think we'll be making more paper anytime soon . . .